Winter garlic differs from spring garlic planting time and early ripening. Intensive spring growth allows the culture to quickly form large garlic heads, which gardeners use for current needs. Learn how to plant and grow winter garlic.

Features of winter garlic
Culture is planted in open ground in the fall. Having formed the root mass in the autumn period, and having successfully wintered, the plant grows rapidly in the spring. The development of winter crops contributes to moisture stored after snowmelt.
Biological and agrotechnical features of winter garlic:
- high adaptability to various climatic conditions;
- high winter hardiness;
- the roots germinate at 0 ° C, and at 3-5 ° C they grow intensively;
- exactingness to moisture, especially during the period of leaf growth;
- root length - 10-20 cm;
- increased demands on soil fertility, the best option is light, slightly acidic and well-fertilized soils, sandy loam or loamy;
- the desired acidity of the soil is neutral or close to it;
- garlic can not be grown in one place for years, repeatedly - in the same place, it can be planted only after 3-4 years.
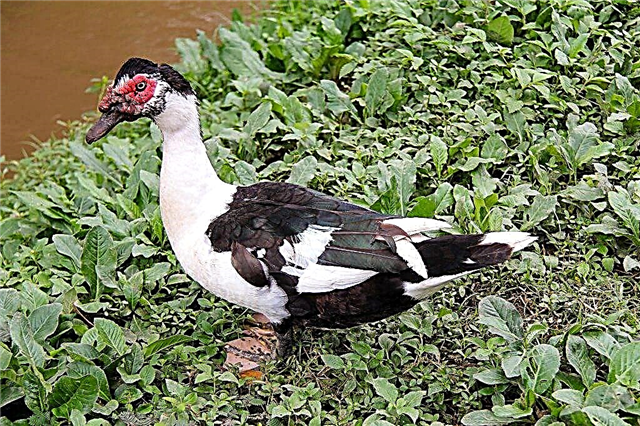
Winter garlic is a bulbous plant in which both the leaves and head scare away pests - slugs, caterpillars, drills and even moles.
How to choose a variety of winter garlic?
The main minus of winter garlic is poor storability. Among the abundance of winter varieties, gardeners have long identified several priorities. The choice of variety mainly depends on the yield, size and taste of the heads. Table 1 shows the popular varieties of winter garlic.
Table 1
| Name | Short description |
| Komsomolets | Launches arrows. The number of teeth in the head is from 6 to 13 pieces. The husk is pinkish. High frost resistance. |
| Local Danilovsky | Not a demanding variety. In a head from 6 to 11 cloves. |
| Gribovsky 60 | Launches arrows. Teeth in the bulb - up to 11 pieces. The teeth are large. Early ripening grade. The taste is spicy. |
| Otradnensky | It tolerates low temperatures. Great taste. Arrows must be cut short in time so as not to lose the crop. The husk is pink with a purple tint. There are 4-6 teeth in the head. |
| Anniversary Gribovsky | Mid-late variety. Head weight - up to 80 g. Purple husk. One head consists of 10-12 teeth. Launches arrows. |
| Anniversary 07 | Mid-season high-yielding variety. The heads are flat-rounded, white. Weight - 80 g. |
You can read more about these and other varieties of winter garlic in the next article.
Landing time
Planted winter garlic in late autumn. This must be done before slush and cold. Planting dates depend on the specific climatic conditions of the region, their range is mid-September-end of October. In the southern regions, you can plant garlic even in November, but in the north it is better to finish planting work early - in early autumn.
In order not to make a mistake with the landing, focus on the local climate. Find out when persistent freezing on the ground occurs. Garlic should be planted 3-4 weeks before this period. For the time remaining before the frost, planting material - teeth or bulbs, take root, but do not germinate.
Details about the cultivation of winter garlic, says the gardener in his video below:
Seat selection
Winter garlic is grown in all regions of the Russian Federation, including in the north. The culture is frost-resistant, therefore it survives winter temperatures safely.
Features of choosing a site for winter garlic:
- Good light.
- Waterlogged and swampy soils are not suitable - garlic is roasted on them. Preference is given to elevations - so that the site is not flooded with melt or rainwater.
- Favorable predecessors - legumes, pumpkin, greens.
- The best soils are fertile sandy loam and loam.
- The best neighbors are berry crops. Garlic is planted near raspberries, strawberries, gooseberries, and also near flowers - it is well adjacent to roses, tulips, daffodils, gladioli.
Crop rotation rules
So that winter garlic does not hurt and gives high yields, consider the rules of crop rotation:
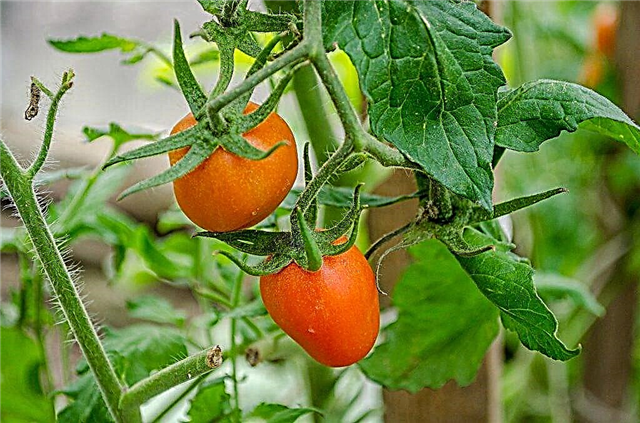
- The best predecessors are siderates. It is recommended to plant garlic after beans, oats, buckwheat, alfalfa, clover, mustard, and legumes. Of vegetables, favorable precursors are considered - cabbage, early potatoes, tomatoes, beets, peppers, carrots. Favorable growth areas are considered on which pumpkin crops grew.
- Unfavorable predecessors are considered crops from the onion family, suffering from the same diseases as winter garlic. These, in addition to onions and garlic, also include bulb flowers.
Preparing for planting winter garlic
The agrotechnical cycle of growing winter garlic begins with the preparation of beds and planting material.
Garlic beds
The procedure for preparing beds:
- The beds are prepared a month and a half before planting or in the summer.
- If the soil is heavy, clay, add river sand, sawdust and compost to it. On the contrary, ultralight sandy soils require weighting - clay soil, compost and humus are added to them. If soils with high acidity, then they are alkalized in advance, introducing fluffy lime, bone or dolomite flour.
- It is forbidden to introduce fresh organic matter - it contains a lot of ammonia. Nitrogen, stimulating leaf growth, will doom the garlic to freeze. It is best to fertilize the beds with peat compost or rotted mullein. For 1 square. m make 1-4 buckets. The soil is dug along with organic fertilizers to the depth of the bayonet shovel.
- Plantings are fertilized with superphosphate (30-40 g per 1 sq. M) and potassium salt (10-25 g per 1 sq. M). Instead of phosphorus-potassium fertilizers, soot or ash will fit - 0.5-1 l per 1 sq. Km. m beds.
The beds for winter garlic are located on the sunny side, they should be oriented from north to south. Before the garlic is planted, the soil on the dug up beds should settle.

Planting material
First of all, planting material is tempered. For this, the selected heads are kept for 2-3 weeks in a cool place (3-5 ° C). The further process of preparing planting material is determined by its type. There are two options for planting winter garlic:
- The teeth. Garlic is sorted into cloves, and each carefully examined. When dividing the heads into teeth, it is important not to damage the husk. All small, diseased and damaged teeth are rejected. Teeth deformed and with cracks on the bottom are not suitable. The selected material is disinfected:
- In ash liquor. To prepare a solution of 400 g of ash, pour 2 liters of water. The solution is boiled for half an hour, cooled and the teeth are kept in it for 2 hours.
- In a solution of potassium permanganate (medium pink color) or copper sulfate 1%. The exposure time is 15 minutes.
- The buns. They do not need treatment before landing - they have no infections or pest larvae.
For planting, take teeth with a diameter of at least 10 mm.
Step-by-step instructions for landing
Hardened and disinfected teeth are planted in the following order:
- The beds loosen with a rake and make furrows. The distance between adjacent furrows is 20-25 cm. Depth is 6-8 cm.
- The teeth in the grooves are arranged with an interval of 6-8 cm. They are placed vertically - with the bottom down or on the side. Bulbuns are planted denser - only 15 cm is left between the furrows, and 2-3 cm between the bulbs themselves. They are buried by 3-5 cm.
- Planting is watered and sprinkled with a layer of mulch. The thickness of compost, straw, peat, humus or sawdust is 3-4 cm. Mulching enriches the soil with humus, mineral salts, and additionally insulates the planting. Read more about soil mulching here.
- In areas with winter temperatures below minus 25 ° C, it is advisable to re-insulate the plantings - put on top of the spruce branches or branches. Such a shelter will contribute to the accumulation of snow, which will provide additional insulation.
Care and growing
Care for winter garlic begins in early spring and lasts until the harvest. In the northern regions, garlic ripens in the last decade of July, in others - earlier.
In the spring
Care for winter garlic in the spring:
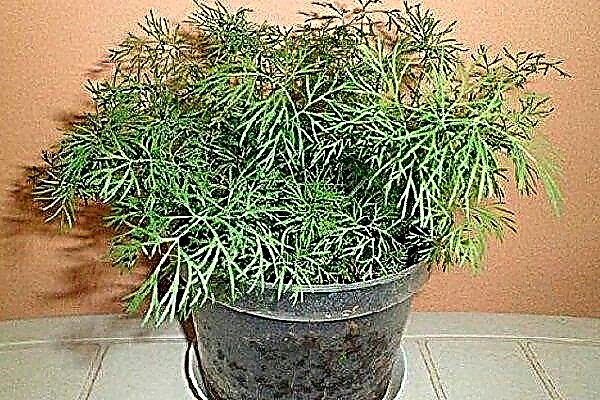
- As soon as the snow, spruce branches or branches come off - if they were used as a shelter, they are removed. And the layer of small mulch, organics, does not need to be removed - soon green sprouts will appear from under it. Winter garlic - the first greens in the garden. Sprouts make their way in March-April.
- When greens appeared, the garlic is fertilized with nitrogen. Two weeks after emergence, the plants are watered with a solution of urea, ammonium nitrate or nitroammophos (10 l - 20 g). After 2 weeks - repeated feeding.
- During the growing season, the beds are regularly weeded and loosened to a depth of 3 cm.
- Planted every 5-7 days.

Summer
Winter garlic care continues in the summer:
- In June, a third top dressing is carried out to support the plants during head formation. Phosphorus and potassium are introduced by watering the beds with an ash solution. Prepare it by insisting for three days a glass of ash in a bucket of water. You can also add a solution of potassium monophosphate (10 l - 20 g), superphosphate (10 l - 25 g) or potassium nitrate (10 l - 15 g).
- In the summer, garlic plantations continue to be watered at the same frequency as in the spring. In hot weather, the frequency of watering increases. Three weeks before harvesting, watering is stopped.
- After each watering, it is advisable to loosen the soil.
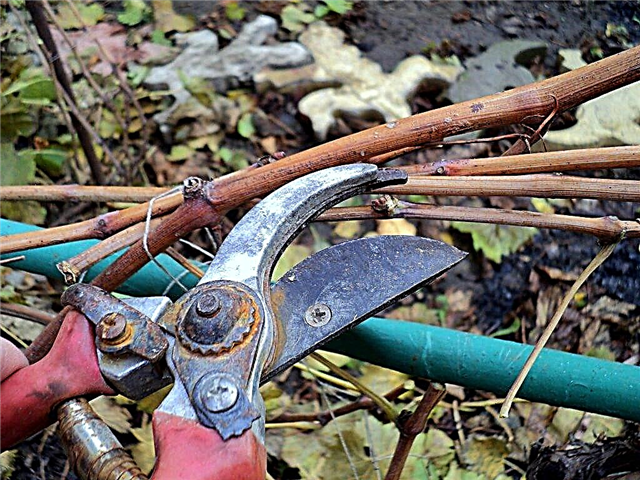
- When the arrows reach 15 cm in length - in the arrowed varieties of garlic, they are broken out. This is necessary to prevent the waste of nutrients on peduncles.
What pests can be encountered?
The most dangerous diseases of winter garlic are rot and rust. Bacterial infections usually infect garlic during storage, and then penetrate the soil with planting material. Table 2 presents the common diseases of winter garlic and methods to combat them.
table 2
| Pests / Diseases | Damage / Symptoms | How to fight? |
| Penicillin rot of the bottom | The leaves turn yellow, and then die. | With penicillosis, harvesting is carried out during the complete readiness of garlic. When cutting, the neck is left more authentic - about 10 cm. The heads dry well. Store at a moisture content of not more than 75%. Note! The garlic leaves may turn yellow for other reasons described here. Then the methods of dealing with this phenomenon will be different. |
| Rust | Rusty spots appear on the leaves. | The planting is sprayed with fungicides - Oksikhom 0.4%, Ridomil 0.2% or others. Repeat treatment 2-3 times with an interval of 1-2 weeks. |
| Downy mildew | Gray spots appear on the shoots and inflorescences. | The plant should be fed on time. For prevention, calendula is planted near the beds. Treatment with Ridomil. |
| Stem nematode | Threadlike worms 1.5 mm long feed on plant juices. Able to completely destroy the culture. Dashes appear on the leaves, feathers dry and die, the smell of rot appears. | Calypso is sprayed according to the instructions for the drug. |
| Onion fly | The larvae of the fly damage the feathers of garlic; growth and productivity are slowed down. | Spray with a solution of shag (250 g) and hot pepper (1 tbsp. L.). Ingredients pour 2 liters of hot water. Insist 3 days. After filtering, bring up to 10 l, and pour 30 g of liquid soap. |
Cleaning and storage
To get healthy and still garlic, it’s important to harvest the crop on time. It is necessary to overexert the heads in the ground, and they will lose their commercial qualities - the integument flakes will begin to crack.

Harvesting Procedure:
- Start digging the crop as soon as the lower leaves turn yellow, and the tops of the leaves en masse. Harvest garlic in dry weather. They dig it up and pull it out of the ground.
- Do not immediately remove the dug garlic - it must lie on the beds for several days to dry under the sun. Garlic dries along with the stem. If it charges the rain, you have to transfer the crop under a canopy, and there it will dry for about 5 days.
- In dried garlic, cut the stems. The stumps are 4-7 cm long. Dry the heads in a well-ventilated area or under a canopy.
If you store garlic in braids, do not cut the stems. If in bunches - leave a stem length of 20 cm.
To determine when the garlic is ripening, leave a pair of garlic arrows on the varieties that shoot. When cracks appear on the shell of spherical inflorescences, you can safely pull out the garlic.
Garlic, properly harvested and dried, is well stored - does not deteriorate, does not rot. It can be kept under a canopy until the cold weather, then it is transferred to baskets. The optimum storage temperature is 2-4 ° C.
Reviews
Alevtina M., Vladimir region We have been growing a winter cultivar Komsomolets for several years. Very productive, and kept well. True, we regularly sort it out. There are few bad heads. The taste is excellent, good in fresh form, in dishes, we use it also for conservation. He tolerates frosty winters without problems, and always grows large.
Boris T., Kirov region I plant Gribovsky in the winter. I dig deep into the ground - by 15 cm, so that I can better sit out the frost. If in the middle band a depth of 5 cm is enough, then this is not enough with our frosts. Be sure to leave a few arrows - to see when the garlic is ready. The heads grow large, fragrant, they are easy to clean for pickles and preservation.
Hide
Add your review
Growing winter garlic does not require special cares and investments, therefore, it can become a profitable business even for beginner farmers. It is possible to cultivate this undemanding and hardy culture in the northernmost regions.
Posted by
12
Russia. City Novosibirsk
Publications: 276 Comments: 1